
From download to setup, done in 3 minutes
RoamSwitch is a menu bar app designed for "zero configuration." Just approve a few permissions the first time, and it will automatically defend your Mac's network boundary from then on. This guide walks through installation and initial setup step by step, with real screenshots.
Download and open the DMG
Download the latest RoamSwitch.dmg from the homepage and double-click it to open. Drag the "RoamSwitch" icon in the window to the "Applications" folder.
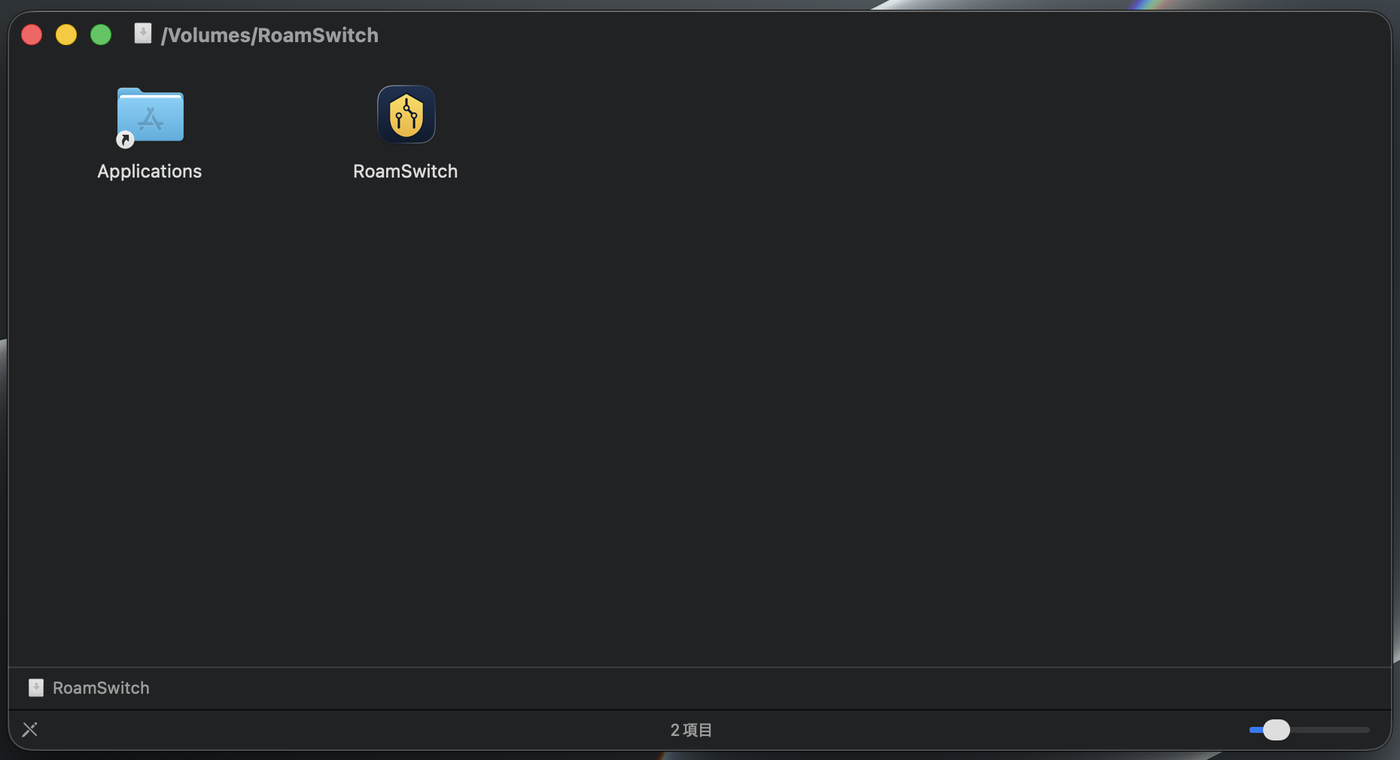
※ This screenshot is from a Japanese-language Mac. Your own dialog will appear in your system language.
Launch it from the Applications folder
Once copied, open RoamSwitch from the Applications folder. Because RoamSwitch is signed and notarized with an official Apple Developer ID certificate, you will never see an "unidentified developer" warning. The first time only, a dialog confirms the file was downloaded from the internet — choose "Open".
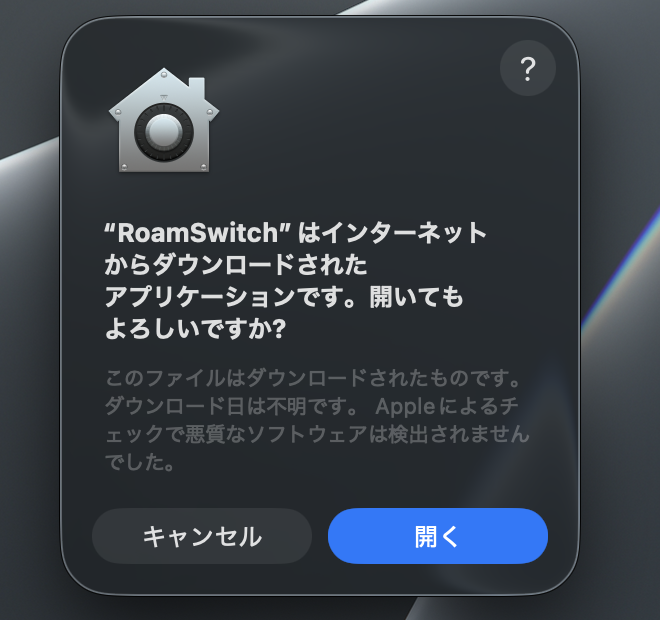
※ This screenshot is from a Japanese-language Mac. Your own dialog will appear in your system language.
The welcome screen opens automatically
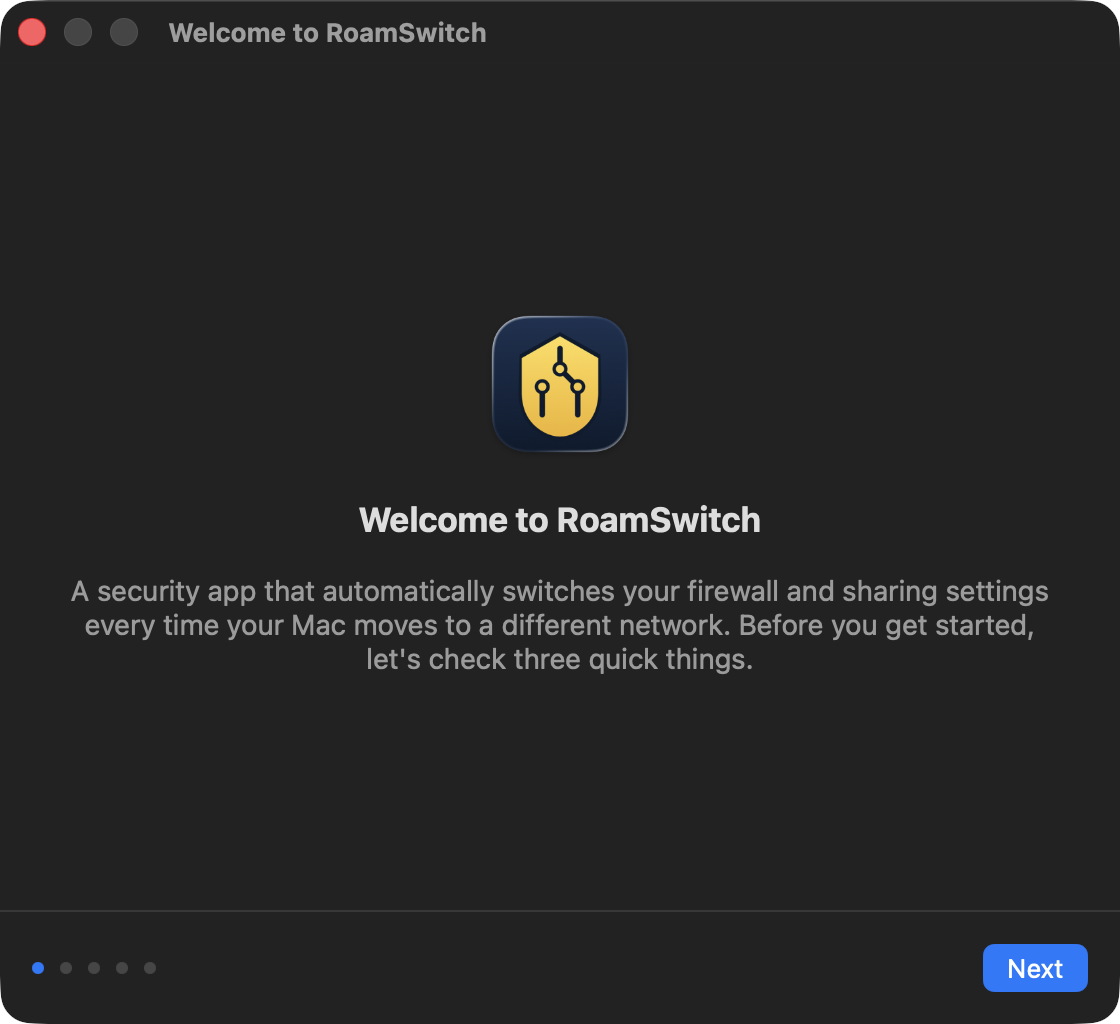
On first launch, a setup screen opens automatically. Just follow the on-screen instructions and click "Next" to proceed through the rest of the setup.
Approve the privileged helper (first time only)
To control the firewall and sharing settings automatically without ever prompting for a password, RoamSwitch needs one-time approval through macOS's standard "Background Item" mechanism (Apple's official SMAppService framework). You'll either see a "Background items were added" notification, or you can open System Settings directly using the button below.
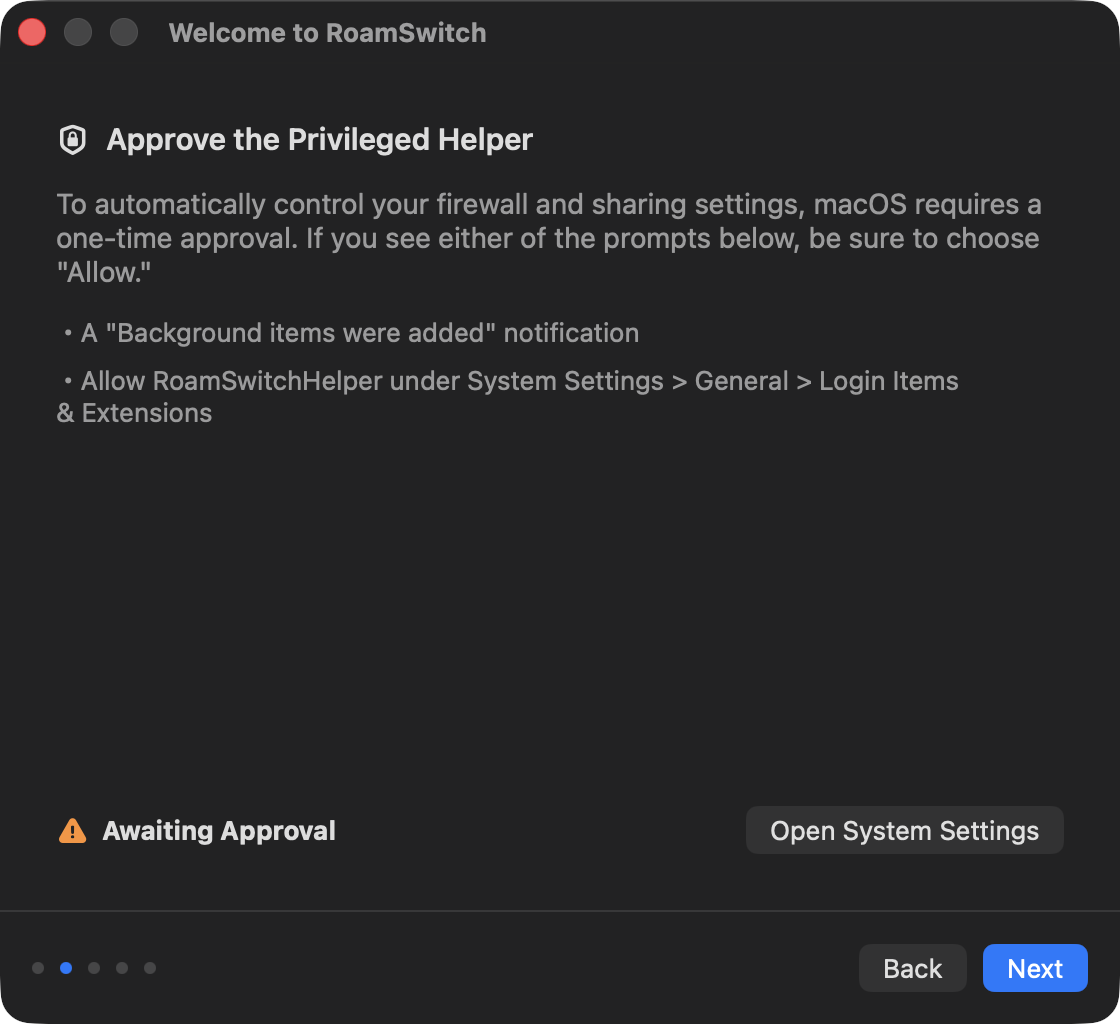
Open System Settings ▸ General ▸ Login Items & Extensions, and turn on the toggle for RoamSwitch.
▲ A ~15-second screen recording of the complete approval flow.
Before

After

Switch back to RoamSwitch, and the approved status is reflected automatically.
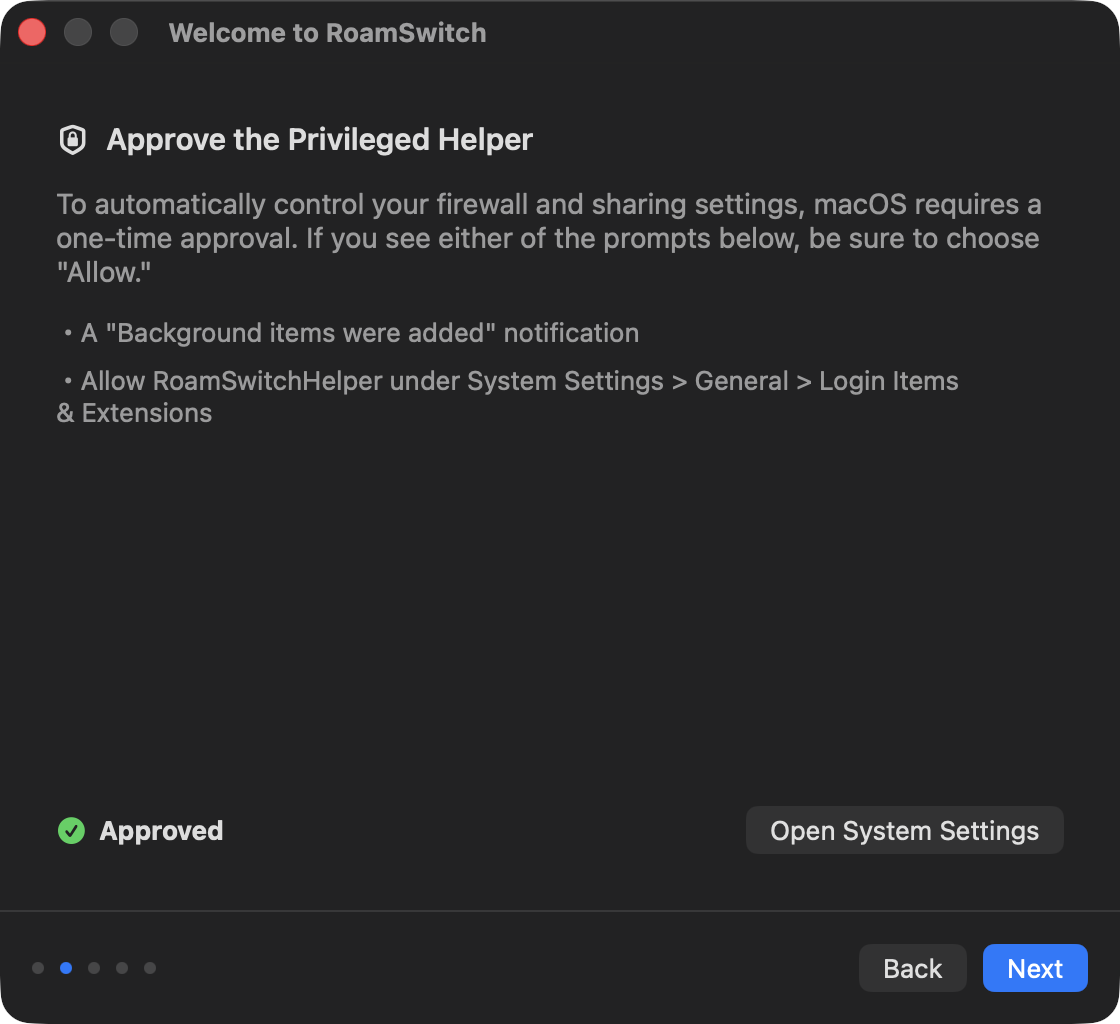
socketfilterfw) and sharing daemons and to power the auto-block feature.Register this location as "trusted" (optional)
Registering a network you know is safe — like home or the office — ahead of time keeps things like file sharing enabled automatically while you're there. Unregistered locations (cafes, public Wi-Fi, etc.) automatically get stronger protection, so you don't need to do this step right now.
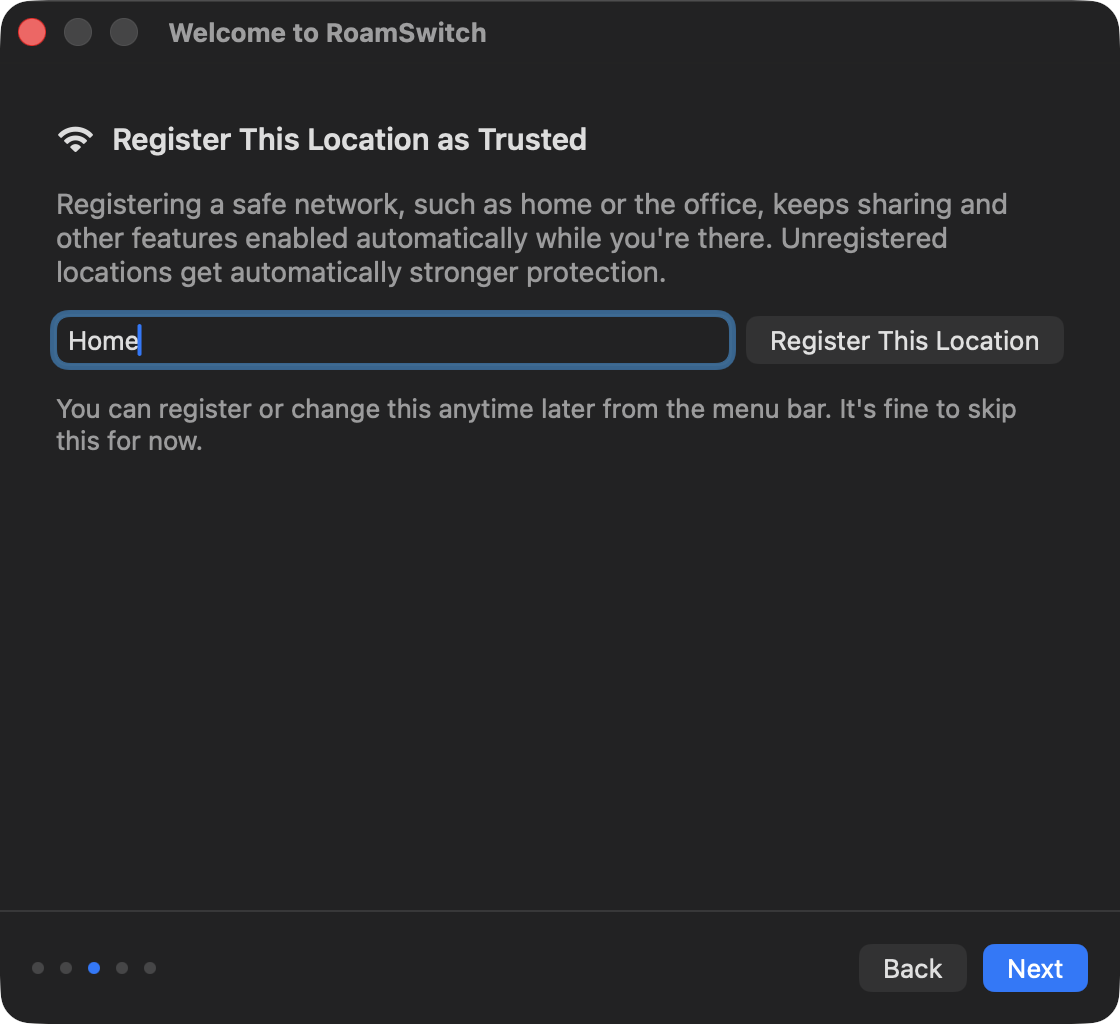
Enable launch at login
RoamSwitch is designed to continuously monitor your network in the background. So you never have to launch it by hand after every restart, we recommend enabling launch at login. You can change this setting anytime from the menu bar.
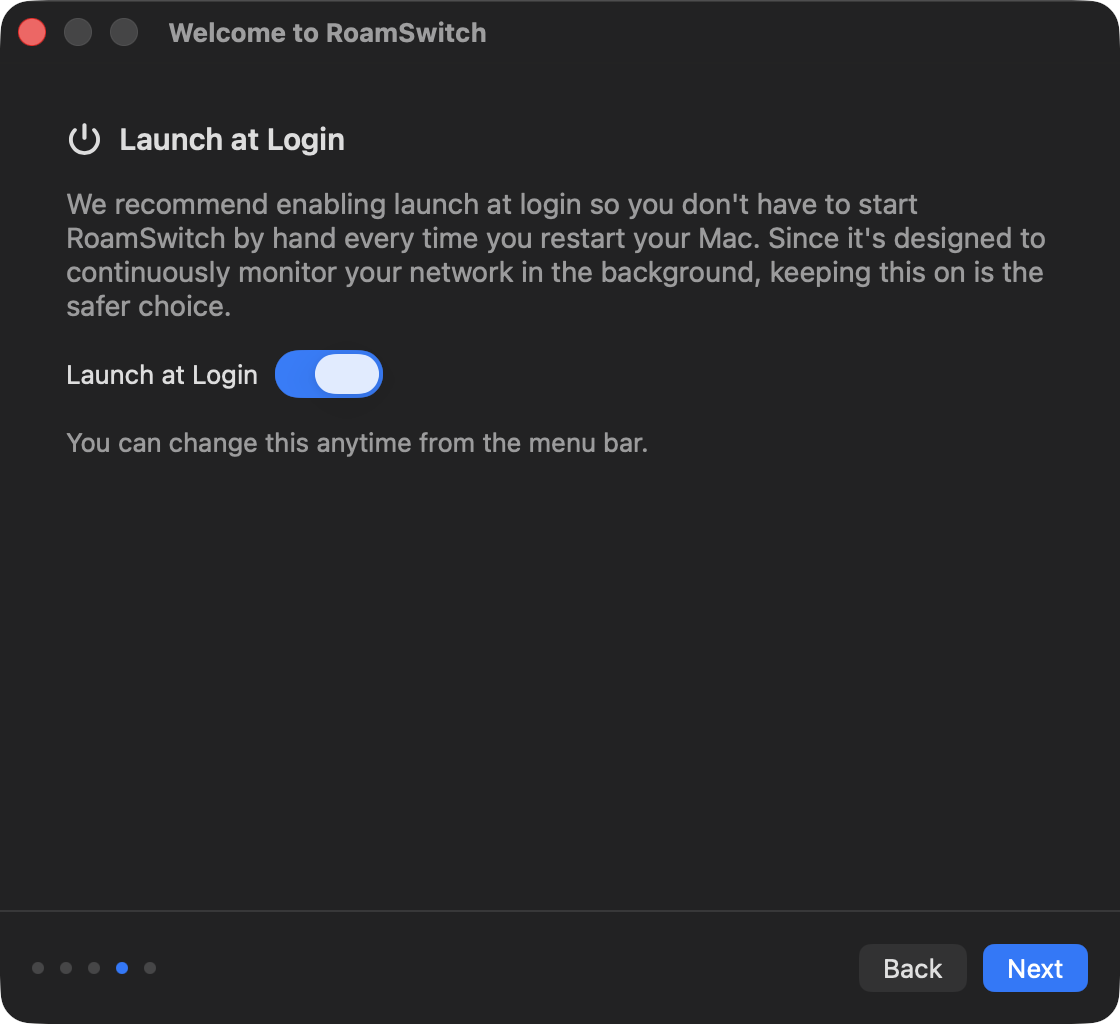
Setup complete
Finally, you'll see what the Pro Lifetime edition unlocks. All automatic protection (packet blocking, port protection, and disabling sharing on unregistered networks) works fully in the free edition too. Click "Get Started" to finish setup.
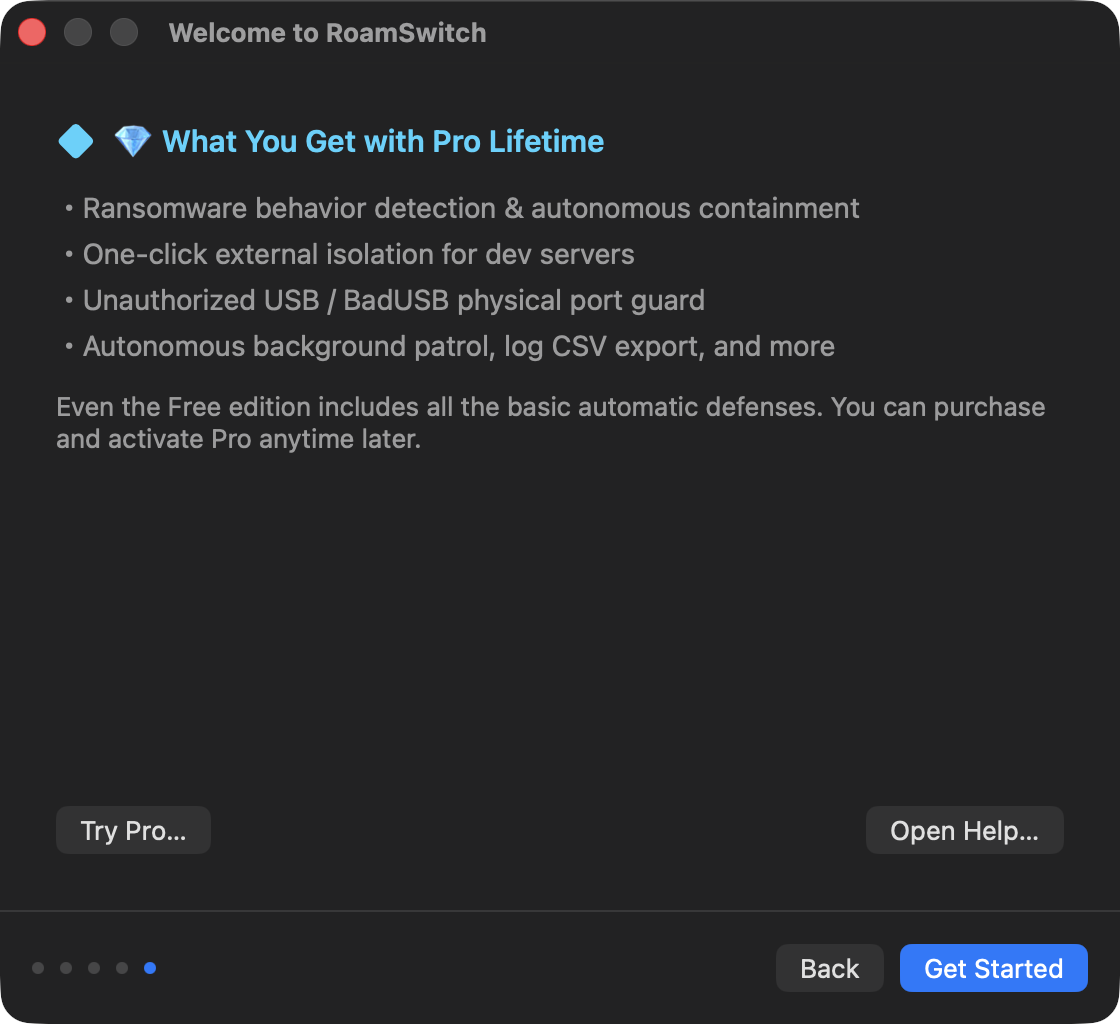
From here, there's nothing else to do
RoamSwitch stays in the menu bar and works automatically every time your Mac connects to or moves between networks. Manual action is only ever needed when you want to register a new network or temporarily change the protection level.
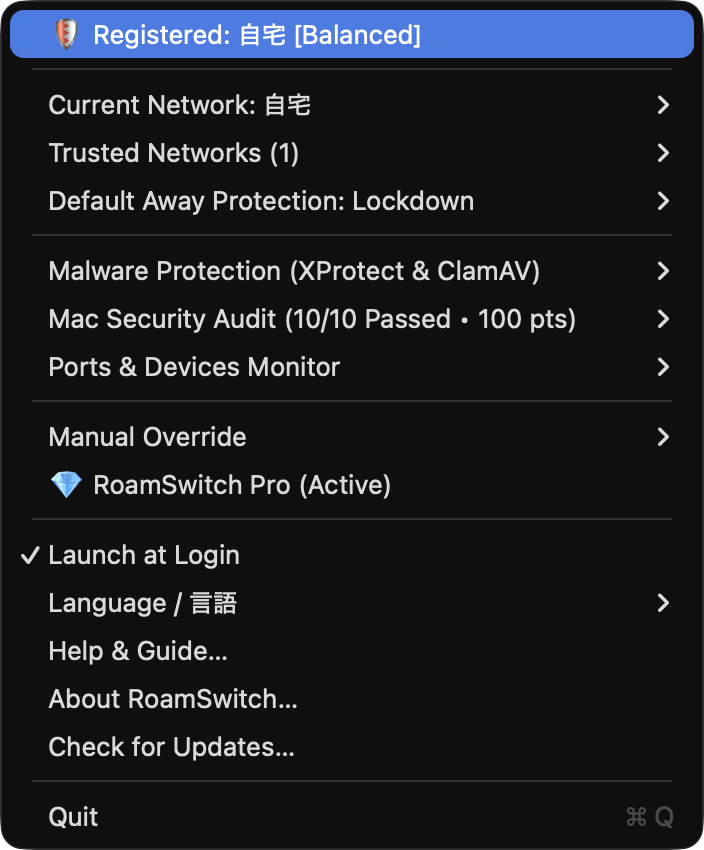
Click the menu bar icon anytime to check your current protection status and comprehensive security score.
📥 Web & Email Protection
Automatically detects files downloaded from Safari, Mail, Slack, Discord and more, and instantly scans and quarantines them with ClamAV.
🌐 DNS Threat Protection
On public Wi-Fi, automatically switches to secure DNS such as Quad9 / Cloudflare, blocking access to malware C2 and phishing sites before they load.
🔗 Link Safety Check
Safely expand suspicious email-attachment URLs and shortened links on your device before opening them in a browser, with Unicode homograph spoofing detection.
Questions we often get before installing
Q. Is "Accessibility" permission required?
A. No. All you need is the privileged helper approval in System Settings ▸ General ▸ Login Items & Extensions (see Step 4 above).
Q. Gatekeeper shows an "unidentified developer" warning and won't let me open it
A. RoamSwitch is a notarized app, so this warning normally never appears. If you do see it, the file may have come from somewhere other than the official site (lafine.net). Please download it again from the official site.
Q. Do I need to do anything each time after setup?
A. No. Once initial setup is done, the firewall and sharing settings switch automatically as you move between networks. The rogue USB storage auto-block feature works independently of the network, detecting USB devices being plugged in or removed at all times. You only need to use the menu bar when you want to register a new safe location.
Q. How do I uninstall it?
A. Choose "Quit" from the menu bar to quit the app, then move RoamSwitch from the Applications folder to the Trash. You can individually revoke the privileged helper approval from System Settings ▸ General ▸ Login Items & Extensions.